It's very important to make sure they look real!! hee he
Here I am trying on the Walrus!
(mustache names from HERE)
I'm here again as promised to show you how to make your very own Punch art Mustaches!!! This all began when I was feeling much too impatient to wait for the brand new Mustache die featured in the New Stampin' Up! Catalogue!!! So I had a play and here is a selection of what I've come up with to DIY!!
Elegant butterfly
Bird builder
Decorative label
Now for what to do:
Mustache #1: IMPERIAL
bird punch
Fold back the birds head and stick down,
(you need two) Then place side by side
Mustache #2: PETITE HANDLEBAR
bird wing punch
This one uses the bird wing, trim some of the wing
down a little like pictured above.
Once you've done one then place on top of the other and follow the shape!
Mustache #3: CHEVRON
butterfly punch
Turn butterfly upside down and trim off smaller wings,
then cut out little "head" piece
Mustache #4: ENGLISH
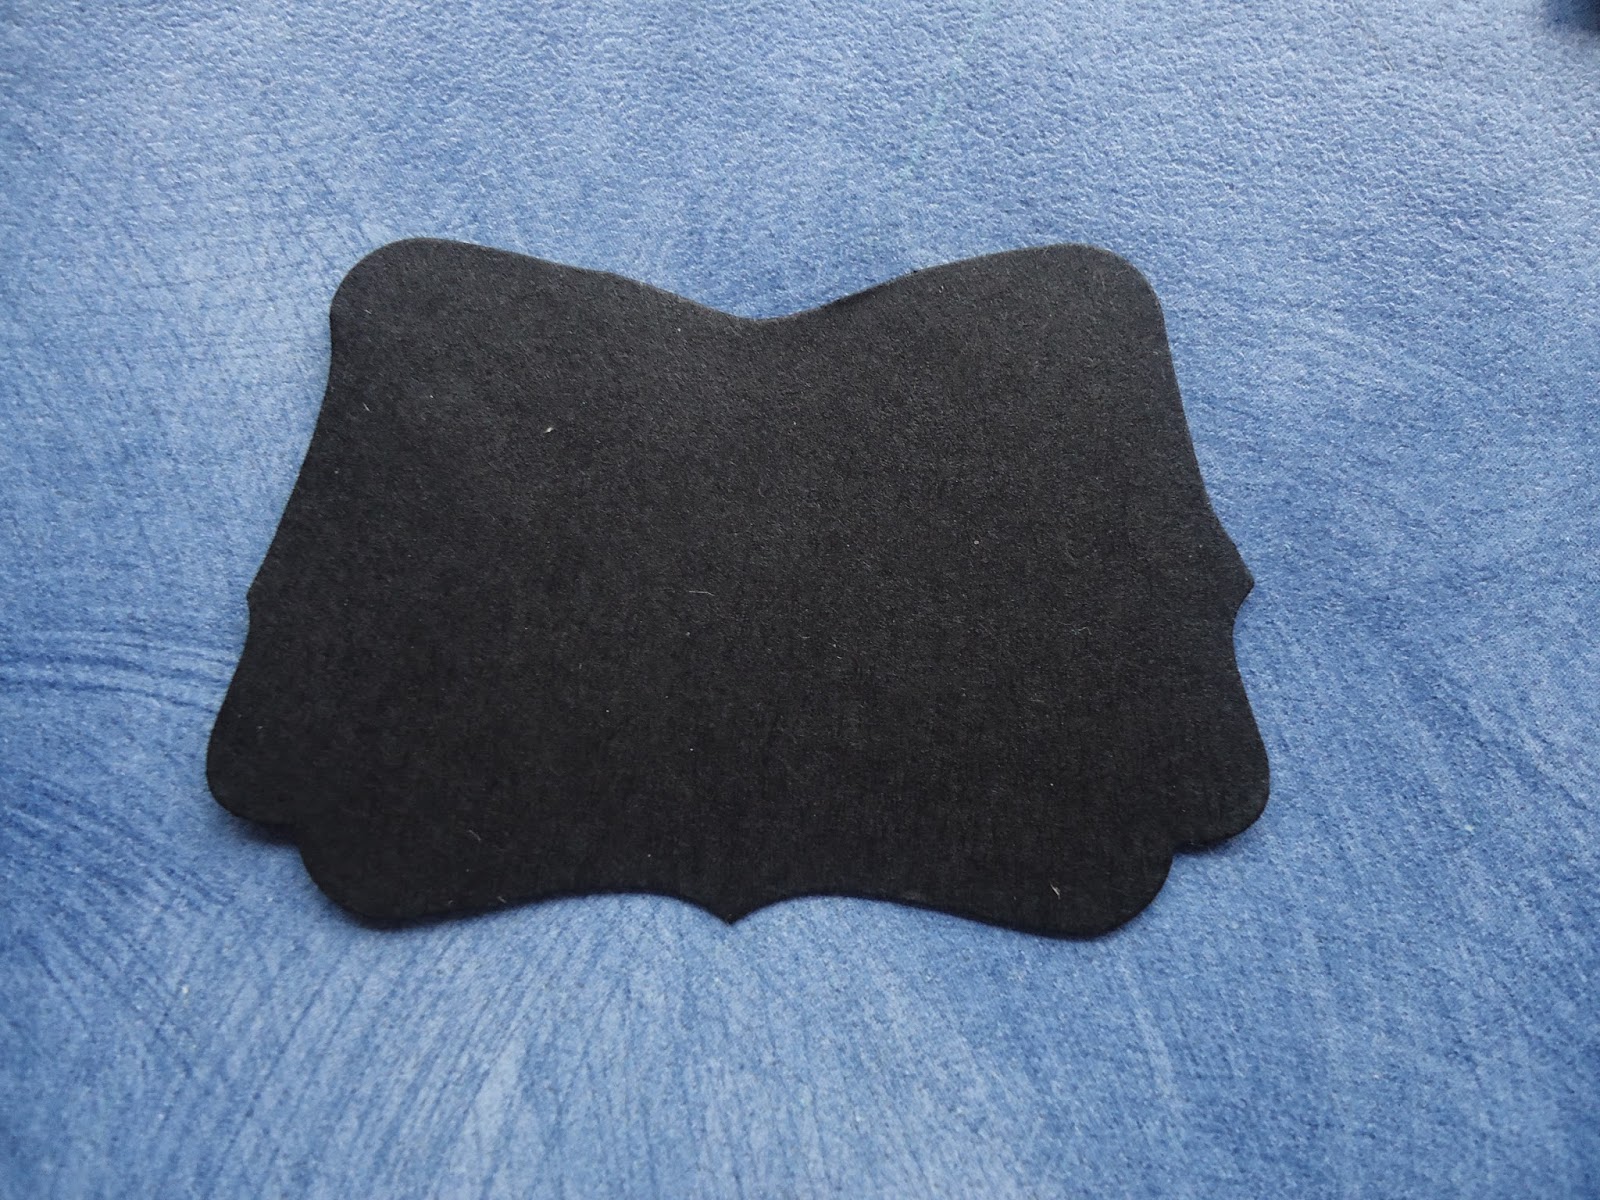
Decorative label
I'm sure you've seen this trick, it's a little bracket when on it's side
but flip it horizontally and you have a Fancy mo!
Mustache #5: WALRUS
decorative label
Cut the scallop edgy bits off, then cut in half!
Use the wonderful new fringe scissors to finish it off!
Of course you can flip some of these ( like the top two on this card sample)
either way depending on the Mo you're after!!
from top: decorative label, wing, butterfly
and decorative label!
Now just pop your Mustache/s of choice on your card!!!
DONE!!!
from top: wing, butterfly, decorative label & bird!
I hope that you go and give these a try!! They sure are a lot of fun and if you're anything like me you just won't be able to stop at one!!


No comments:
Post a Comment